
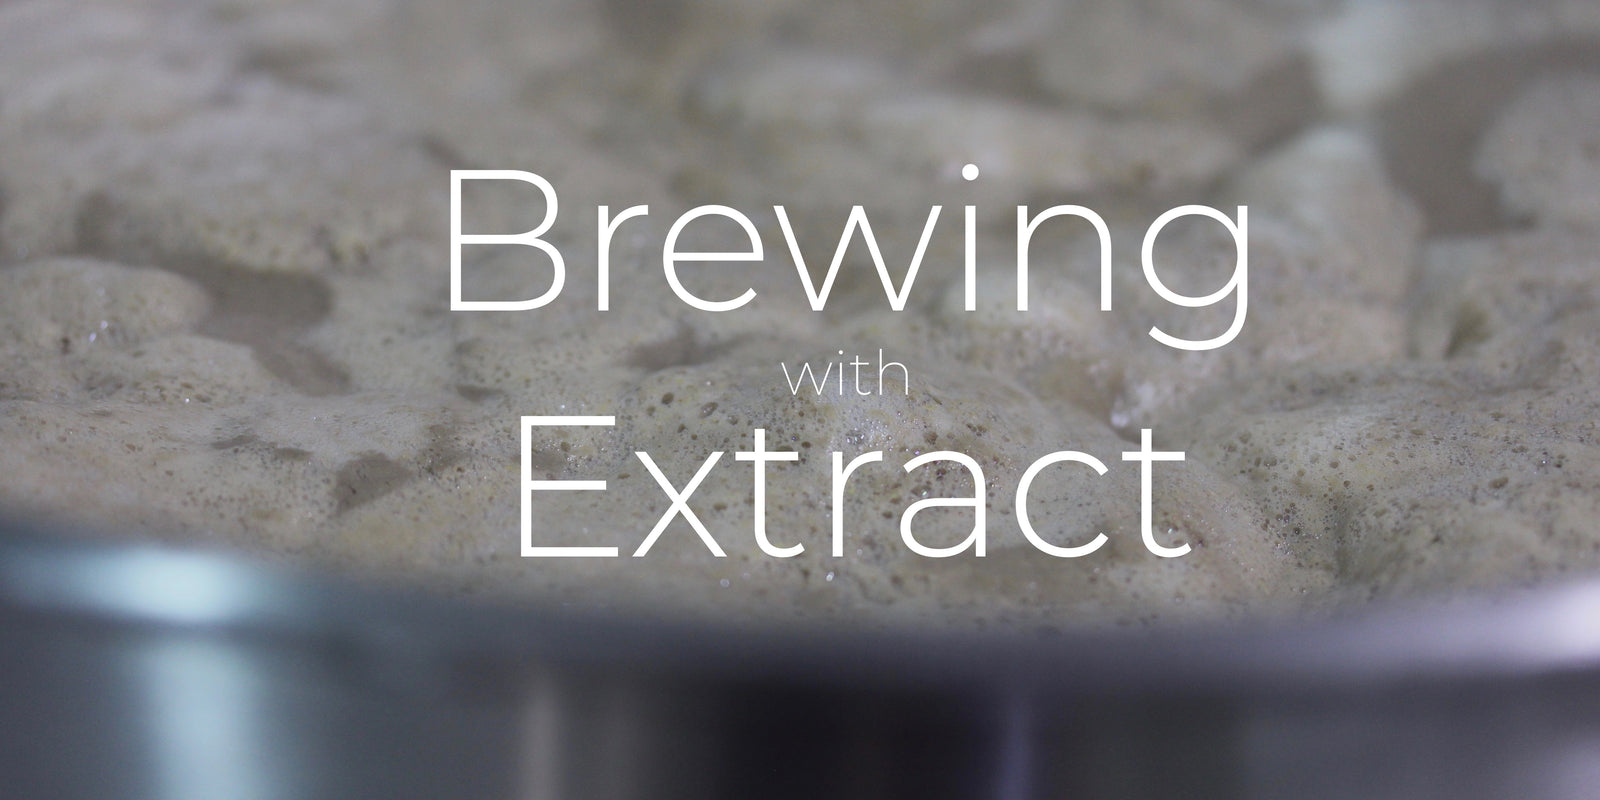
Brewing with Extract

Brewing Beer from extract is a great way to get started brewing beer. It removes a key element of brewing, but also one of the most difficult without losing much in the way of flavour in the finished product.
What is Extract?
Brewing extract is a concentrated form of malted barley. It is made from the same malted barley that goes into other beers. Extract can come in two forms – dry and liquid. Often they are called Dry Malt Extract (DME) or Liquid Malt Extract (LME). They are just about the same, DME tends to be 20% more concentrated than LME.
We carry a wide variety of extracts here at KJ. The most basic one, and it is the biggest seller is Golden Light. Golden Light is a basic extract that is essentially just Canadian 2-row. We also have Munich, Wheat, Amber, and Dark extracts that can be used to form different styles of beer. Almost any beer can be produced with extract.
Check some out our extract recipes!
How to Brew with Extract?
Extracts form the basis of the fermentables for a beer, but we often add specialty grains to the wort to add distinct colour and flavour. The specialty grains do not provide any fermentable sugar; they are there only for flavour.
First off, a recipe is needed! We have a few extract based ones on our site, and almost everyone of our all-grain recipes can be converted over to extract. It is generally as simple as replacing the base malt (2 row, Maris Otter, Pilsner etc.) with the comparable extract and making sure the sugar levels match up so the final alcohol is right. Drop us a line and we’ll happily help with the recipe process.
Equipment Required for Extract Brewing (5 gallon batch)
- 5 Gallon (19L) or larger pot. Anything smaller will pose a major challenge to brewing
- Fermentation pail with lid, or carboy
- Rubber bung and airlock
- Nylon/Muslin bag for steeping grain
- Hydrometer
- Autosiphon and tubing
- Filling tube and bottles/growlers
- Starsan (for sanitizing equipment)
General Brewing Tips:
- Don’t use softened water, only use hard water for brewing beer. As you gain more experience in brewing you can get more detailed in water usage, but from the start just use hard water.
- Heating sources: You can use just about anything for heating a brew. Typically, a stovetop works well, so too does propane burners, and induction plates. If you feel like embracing your inner cave-man/woman than a camp fire can be used, but its not ideal!!!
- Sanitation is incredibly important. Especially after all the boiling has been done. Everything that touches your beer has to be sanitized, whether that is a spoon, the fermentation pail, or a hydrometer. When in doubt, spray it with Star San.
- Fermentation times, it is very tempting to think a beer is finished brewing after the airlock stops bubbling after a couple of days. This is not the case, give your beer 10 days minimum to fully ferment. The best thing to do is just leave it alone while it ferments, no peaking!
- Because peaking, can lead to oxidization – an instant death to your beer. Oxidized beer initially takes on a burnt caramel taste, but can transition into a vinegary sour flavour later on. It is non-reversible and is the most common cause of ruined beer. Check out our tutorial on avoiding oxidizing your beer.
The following instructions will be based on producing a 5-gallon (19L) batch.
Step 1. Steeping Specialty Malts
Not all recipes will have specialty malts, if this is the case, skip ahead to Step 2
- Heat 3 gallons of (hard) water to 160°f, and turn the heat off.
- Place the specialty grains into a nylon/muslin bag and submerge it like a tea bag into the water
- Let it sit for 15 minutes with the heat still off, after 15 minutes remove the grain
Step 2. The Boil
- Bring the 3 gallons of liquid to a boil. Once it is boiling turn the heat off again.
- Stir in all of the extract the recipe calls for (usually about 6-8lbs of extract)
- Make sure you get every last drop of syrup or powder into liquid. A spatula works wonders for getting all of the syrup out of a LME container.
- Bring the liquid back to a boil. There will probably be a brown protein substance on the surface, this boils off after 5 minutes or so. Do not add hops until it has gone. This step is often referred to as the Hot Break.
- Stir in all of the extract the recipe calls for (usually about 6-8lbs of extract)
- Once the Hot Break is done, now it is time to follow your recipe for hop additions. Most recipes have a hop addition at 60 minutes. This means you add the hops and set a timer for 60 minutes. If there is no hop addition at 60 minutes, you will still need to set a timer for 60 minutes. The beer requires a full 1-hour boil.
- Leave the pot either uncovered, or partially uncovered. We want a rolling boil but we do not want to cover the pot as it leads to the addition of DMS in your beer.
- Recipes will then often have other hop additions. If there is an addition at 30 minutes, it means that the hops should be added 30 minutes into the 60-minute timer.
- Follow your recipe with all of the hop additions. Some recipes it could just be one addition; other recipes could have a bunch of additions at different times.
- We typically recommend adding 1 tsp of Irish Moss with 15 minutes left in the boil. This helps with clarity down the road, though it is not required. Also, if you have an immersion wort chiller, add it with 15 minutes left.
- Once the 60-minute timer is finished, take the pot off of heat and we’re off to step 3.
Step 3. Chilling and Preparing for Fermentation
- Now that the boiling portion is over, we have to be very careful with sanitation. Everything that touches your wort must be sanitized. We recommend using Star San for this. Mix 1/4 tsp of Star San into a 500ml spray bottle and add water. Now you can spray all of your equipment with this no rinse sanitizer.
- Our goal is to now cool this beer down as quick as possible. Now that the beer is off of heat there is a danger of bacteria getting into the wort and spoiling it. The quicker it is cooled down, the less danger the beer will be in.
- Our goal is to get the temp down to at least 25°c before adding the yeast.
- The easiest way to cool the beer down is to submerge the brewpot in an ice bath. Simply make an ice water mixture in your sink and dip the brewpot in it. This ice will melt almost instantly, so a second ice bath will usually be needed.
- The cooling process takes time, a quicker way to cool down wort is to use a wort chiller. However, that is another piece of equipment that costs $70+, it is usually not something a first time homebrewer will have.
- Once the 3 gallons of wort have been cooled to 30°c (this could take a hour or two) it is time to take a hydrometer measurement. With just 3/5 gallons of wort, the specific gravity should be higher than the recipe calls for.
- Recipes have a planned original gravity (og) also known as specific gravity (sg). That is the target the recipe is aiming for. Alcohol in fermentations comes from the conversion of sugar into alcohol by the yeast. So if the SG is way lower than planned it will result in a less alcoholic beer.
- Water down the wort until it reaches the required specific gravity your recipe calls for. Use hard water again, and, if you plan ahead you can chill the water so that it brings the beer down to 20°c (which is a good temp to add yeast at). You may not end up with 5 gallons of wort, but it is more important that you get the right specific gravity rather than the right volume.
- For example, your recipe might call for a SG of 1.050. With 3 gallons of wort your hydrometer might read at 1.070. Add water until your hydrometer reads 1.050 regardless of volume. Keep in mind that hydrometers can give false readings if above 30°c or below 10°c.
- Once you have the 4-5 gallons of wort at the desired specific gravity it is time to move the liquid into a fermenter.
- Run the wort through a strainer to catch any particulates (like hops).
- Once the wort is in the (SANITIZED) fermenter, add the yeast, put the bung and airlock in the neck of the carboy, or the hole in the lid (depending on what you are fermenting in). Make sure the airlock has liquid up to the fill line (halfway up) and place somewhere that is consistently in the 18-21°c temperature range.
- Let it ferment for 10 days, measure the SG, move to a carboy, then proceed to bottle a few days later.