
Boiling the Wort

At this point, you have done the mashing process and are now ready to boil the wort. This part is a lot easier than mashing and can often be accompanied by a crisp cold one. This section applies to both extract and all grain brewing. Though for extract, we recommend checking out our dedicated extract method tutorial.
Required Materials
- Brewpot
- Heating source capable of bringing the wort to a boil
- Stirring spoon/paddle of some kind (metal works best)
What Happens in this Stage?
Now that all the fermentable sugar has been removed the grains, it’s time to bring the wort to a boil and add the required hops. Boiling the wort is absolutely required in all beers. It sterilizes the wort, kills off any bacteria in the liquid, and breaks up proteins in the beer. Even beers that are not hopped (which is not a great idea) are still boiled.
Important Tips
- Make sure you have at least a gallon of free space in your pot. The wort can bubble up quite a bit, having the extra room keeps messes to a minimum.
- Beware the hot break! (More on that below.)
- The wort needs to be BOILED – which means it needs to at least hit 100°C. A good, vigorous boil is ideal, but some heat sources can struggle to maintain a boil with that much liquid.
- The heating source doesn’t matter, just so long as it can reach a full boil. (Even campfire works!)
- Ideally the lid should be off during the boil, but if your heating source can’t maintain a boil without a lid, then place the lid on the pot slightly ajar. If a lid is completely closed during the boil it can lead to DMS flavours in the finished product.
- Boil for at least an hour.
- Typically, between half to a full gallon of the wort evaporates during the boil.
The Process
- Bring your wort to a boil. Feel free to keep the lid on until it boils. Keep an eye as it gets close though - it will boil over if the lid is on!
- Once it has started boiling, maintain enough heat to keep the boil going at a vigorous rate (i.e., there is lots of motion in the liquid)
-
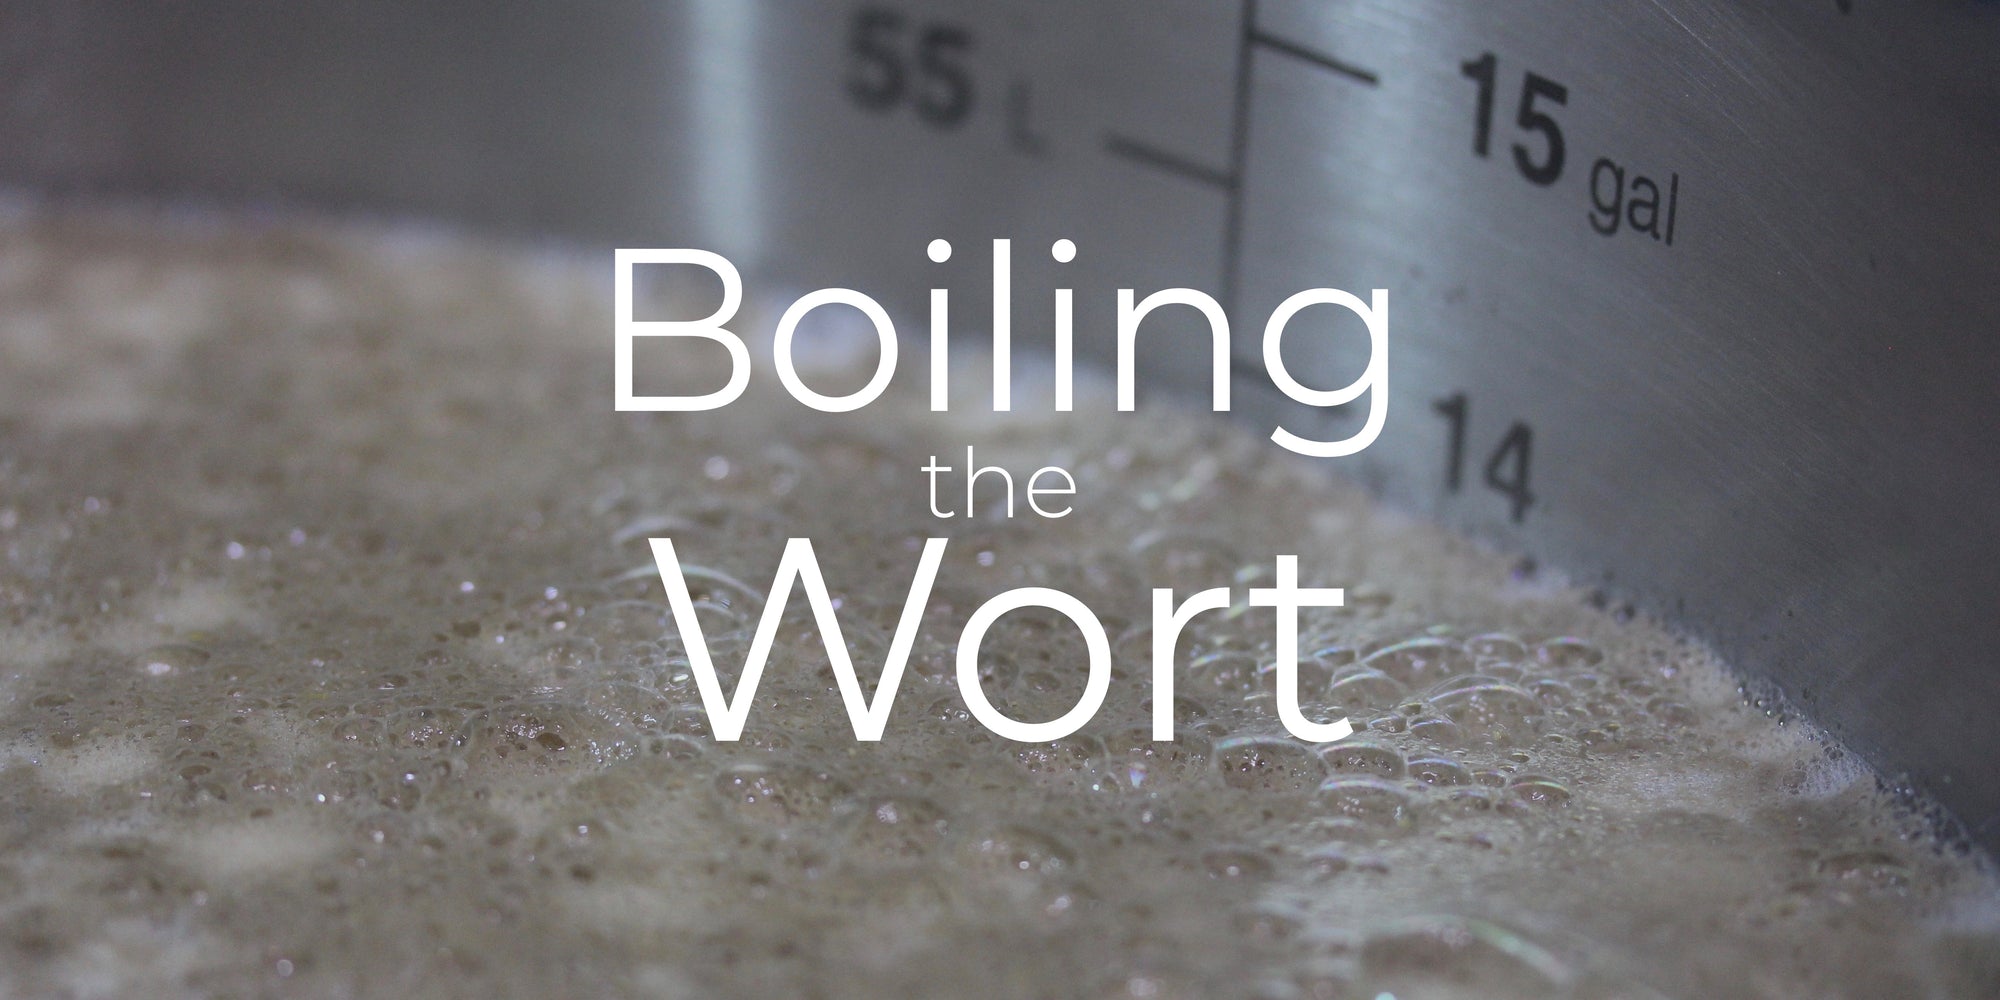
You will notice a brown crust developing on top of the liquid. This is TOTALLY NORMAL. These are the proteins in the wort. After 5 minutes of boiling, the brown crust will dissipate. This part of the boil is often called the ‘hot break’.
- Even if your recipe calls for a hop addition at 60 minutes, DO NOT add hops during the hot break. More than likely it will boil over. I have seen a pot with 3 gallons of air space boil over at this stage when hops were added.
- Once the proteins have dissipated, it’s time to set a one hour timer. If you’re making a lager, Pilsner, or Kölsch then we recommend setting a 90 minute timer instead. Lagers tend to have more DMS than ales, and a longer boil will help eliminate that. Feel free to do a 90 minute boil with ales too. There is not much benefit to it, but no downside other than increased evaporation.
- Now it is time to consider the hop additions. Hops will be added at different times depending on the recipe. Often a hop schedule looks something like this:
|
Hop |
Time |
|
1oz Cascade |
60 minutes |
|
1oz Cascade |
15 minutes |
|
2oz Cascade |
0 minutes |
What does this mean? Once the hot break has gone away, the timer is set for 1 hour and an ounce of Cascade is added at the same time. With 15 minutes left in that 60 minute timer, another ounce of Cascade will be added. Finally, when the timer goes off, 2 more ounces of Cascade are tossed in and then the heat is turned off and it’s time to cool down the beer.
Recipes will always have a hop schedule. Sometimes there won’t be a hop addition at 60 minutes. It still means there needs to be a 60 minute boil, but the first hops just won’t be added until later in the boil.
Why add hops at different times? The longer a hop boils, the more bitterness it gives to the wort. The less time a hop boils, the more aroma and hop flavour it gives to the beer – but with less bitterness. Most hop schedules have bittering additions (like the 60 minute one listed above) and aroma/flavouring additions (the 15 and 0 minute additions). Typically, if a hop is boiled for more than 30 minutes, almost zero flavour will come through – just pure bitterness.
- Typically the boiling process is pretty hands-off. It’s all about maintaining the boil and adding the hops at the right time. It’s often a pretty chill hour where you can grab a seat and have a beer.
- Other things that are sometimes added during the boil are Irish Moss, wort chillers, or other flavour additions (grapefruit & orange peels, or ingredients like molasses and coriander). These special additions will be listed on your recipe with a time to add them in, just like a hop.
- We like to add Irish Moss/whirlfloc to the boil in the final 15 minutes. These items improve clarity in the final product.
- We also add our immersion wort chiller in the final 15 minutes. The boiling wort will sterilize the wort chiller in those final 15 minutes.
- Once the timer goes off, it’s time to cool the beer down! Turn the heat off and proceed to cooling (check out our tutorial on cooling down the wort for more info).
Summing Up
- Bring your wort to a rolling boil, letting the brown crust (hot break) dissipate – takes about 5 minutes.
- Keep the boil going and set a timer for 1 hour, or 90 minutes in case it’s a lager/pilsner.
- Add hops according to the schedule on your recipe.
- When the timer goes off, turn off the heat and proceed to cool down the wort!